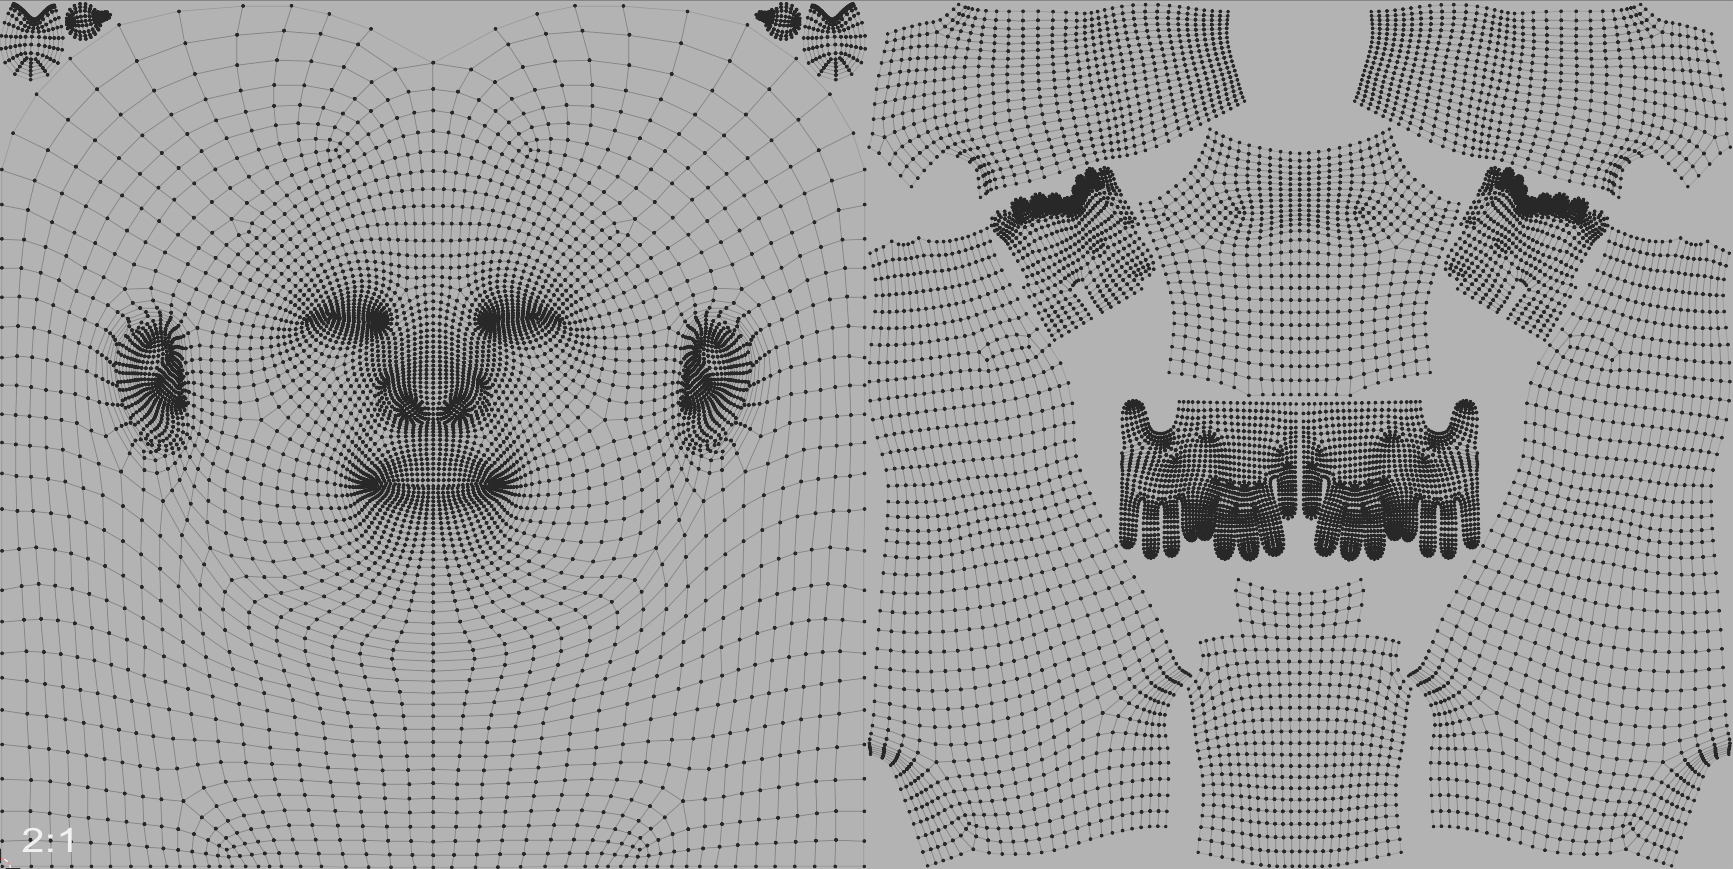
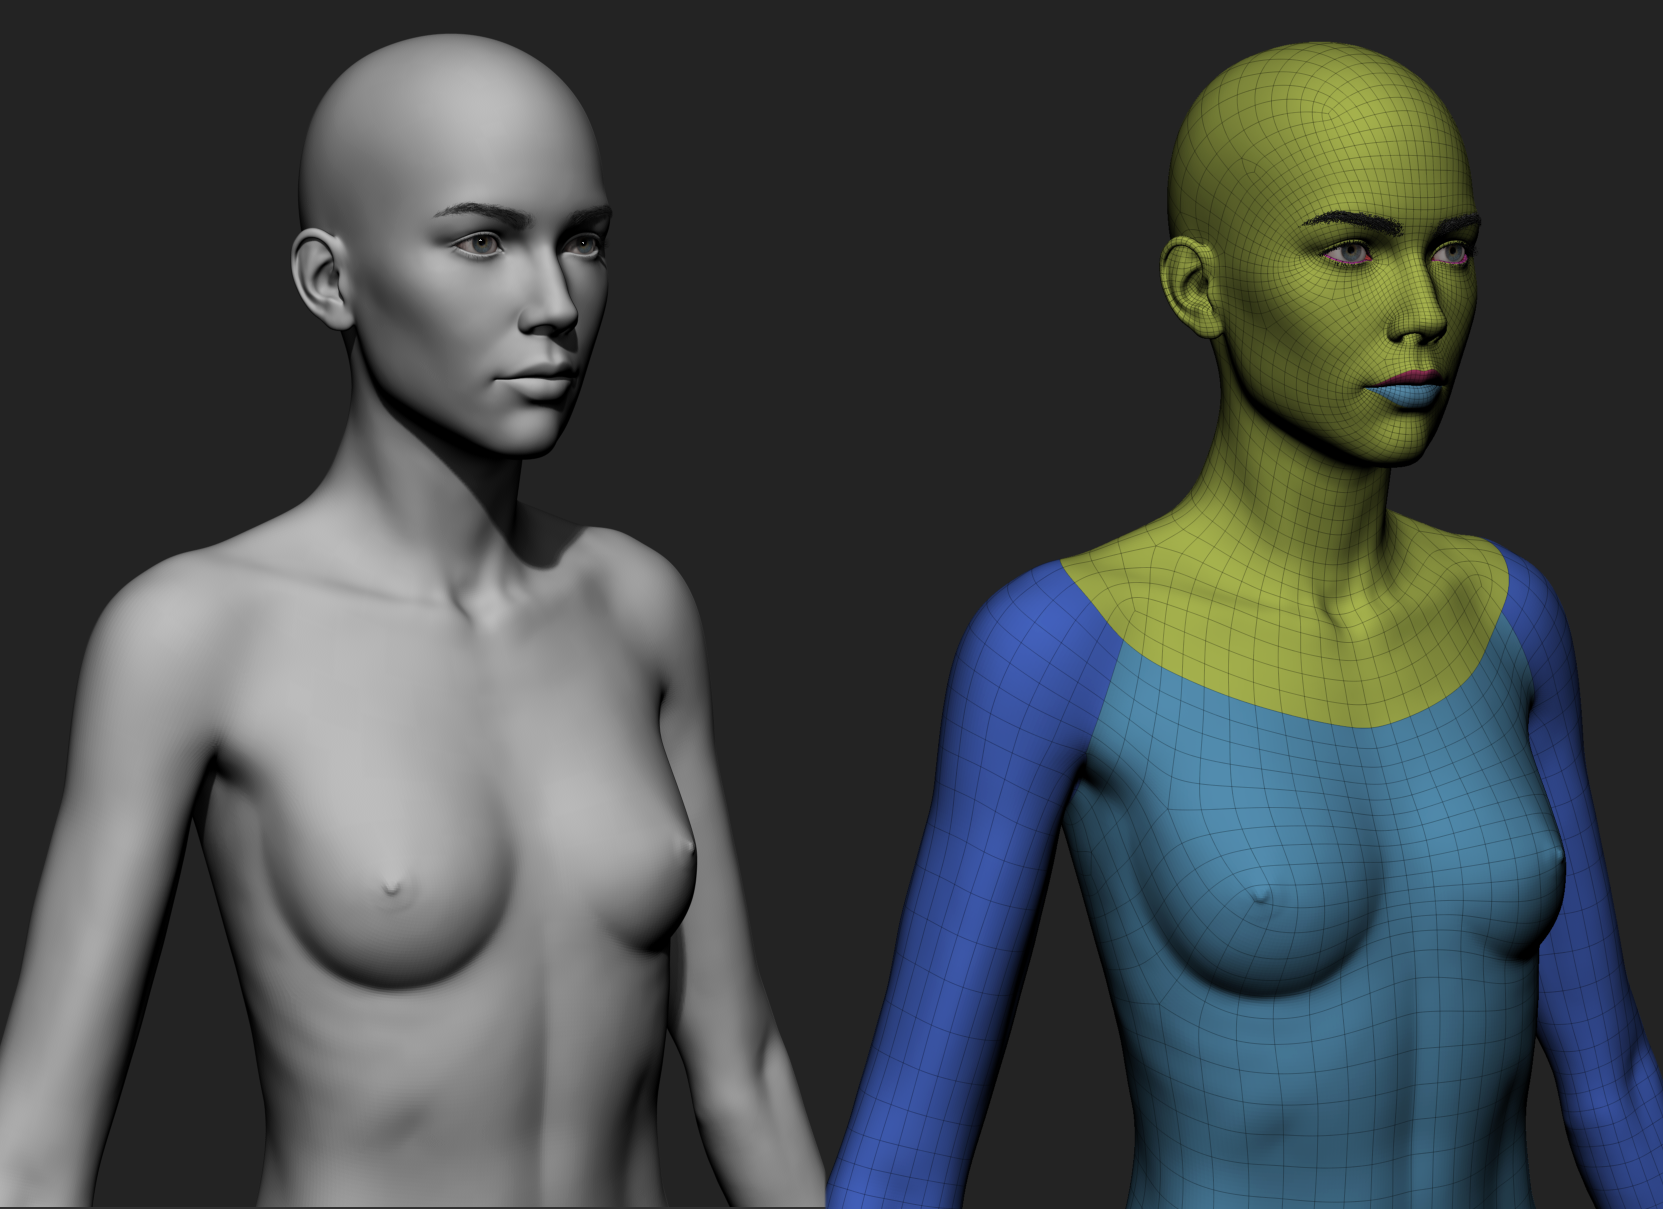
As a foundation for upcoming projects, I wanted to revisit my base human models and research the possibility of using a gender agnostic base mesh. It would serve both as a base for high poly models and something optimized for a real-time character creation pipeline.
Having worked for a long time with a character creation pipeline with thousands of assets and blendshapes, sharing a base mesh for all genders would greatly simplify many of the production steps, especially aiding the possibility of asset reuse and transfer.
Part of the inspiration for this project was Epic’s Metahuman framework which uses a single body topology.
After finalizing the low poly topology and the high poly models for both genders, I made heavy use of R3DS Wrap for topology alignment and reprojection. This step was a breeze compared to manually aligning and re-projecting topology in ZBrush, as I have done in the past.
The biggest challenge, and the overall intent, was to keep the features and landmark locations consistent, alongside joint placement and length (the shoulder joint being the one in need of repositioning).
The UVs are authored on the average shape between the two models, with closed eyelids, and packed in three flavors: Combined, Split and UDIM.

Download:
ZBrush - Human Base Meshes - Gender Agnostic Topology
Please note that this content is free for personal use, personal projects, and non commercial educational purposes only.
Please contact me for other usage. Enjoy!


Godot
Godot is a fantastic game engine that reminds me a lot of the trajectory that Blender had as an open source project. GDScript is fun and accessible, being derived from Python, and I can't wait to see it grow.
Between various Unreal R&D projects I wanted to take the time and learn a bit of its architecture and language.
The goal with this project was to set up the a couple of basic components like manager classes for the game, level, player, windows, events, etc. along with a logging service and a visual debug component, that could be reused between different projects.
I also wanted to get familiar with the physics engine with the intent to create a fluid movement system.
Art is pure placeholder using Godot's icon.
Chiptune made in Renoise tracker
Semi Oblique Strategies
About fifteen years ago I was having infrequent character modeling sessions between other jobs, and as such, I kept forgetting all those small and valuable discoveries and learnings during the process.
In one of those instances I decided to write notes to myself, and kept that practice going on for some years. This proved to be quite useful, and through the years I became aware of the mistakes I kept on making, and managed to reinforce some good practices.
…
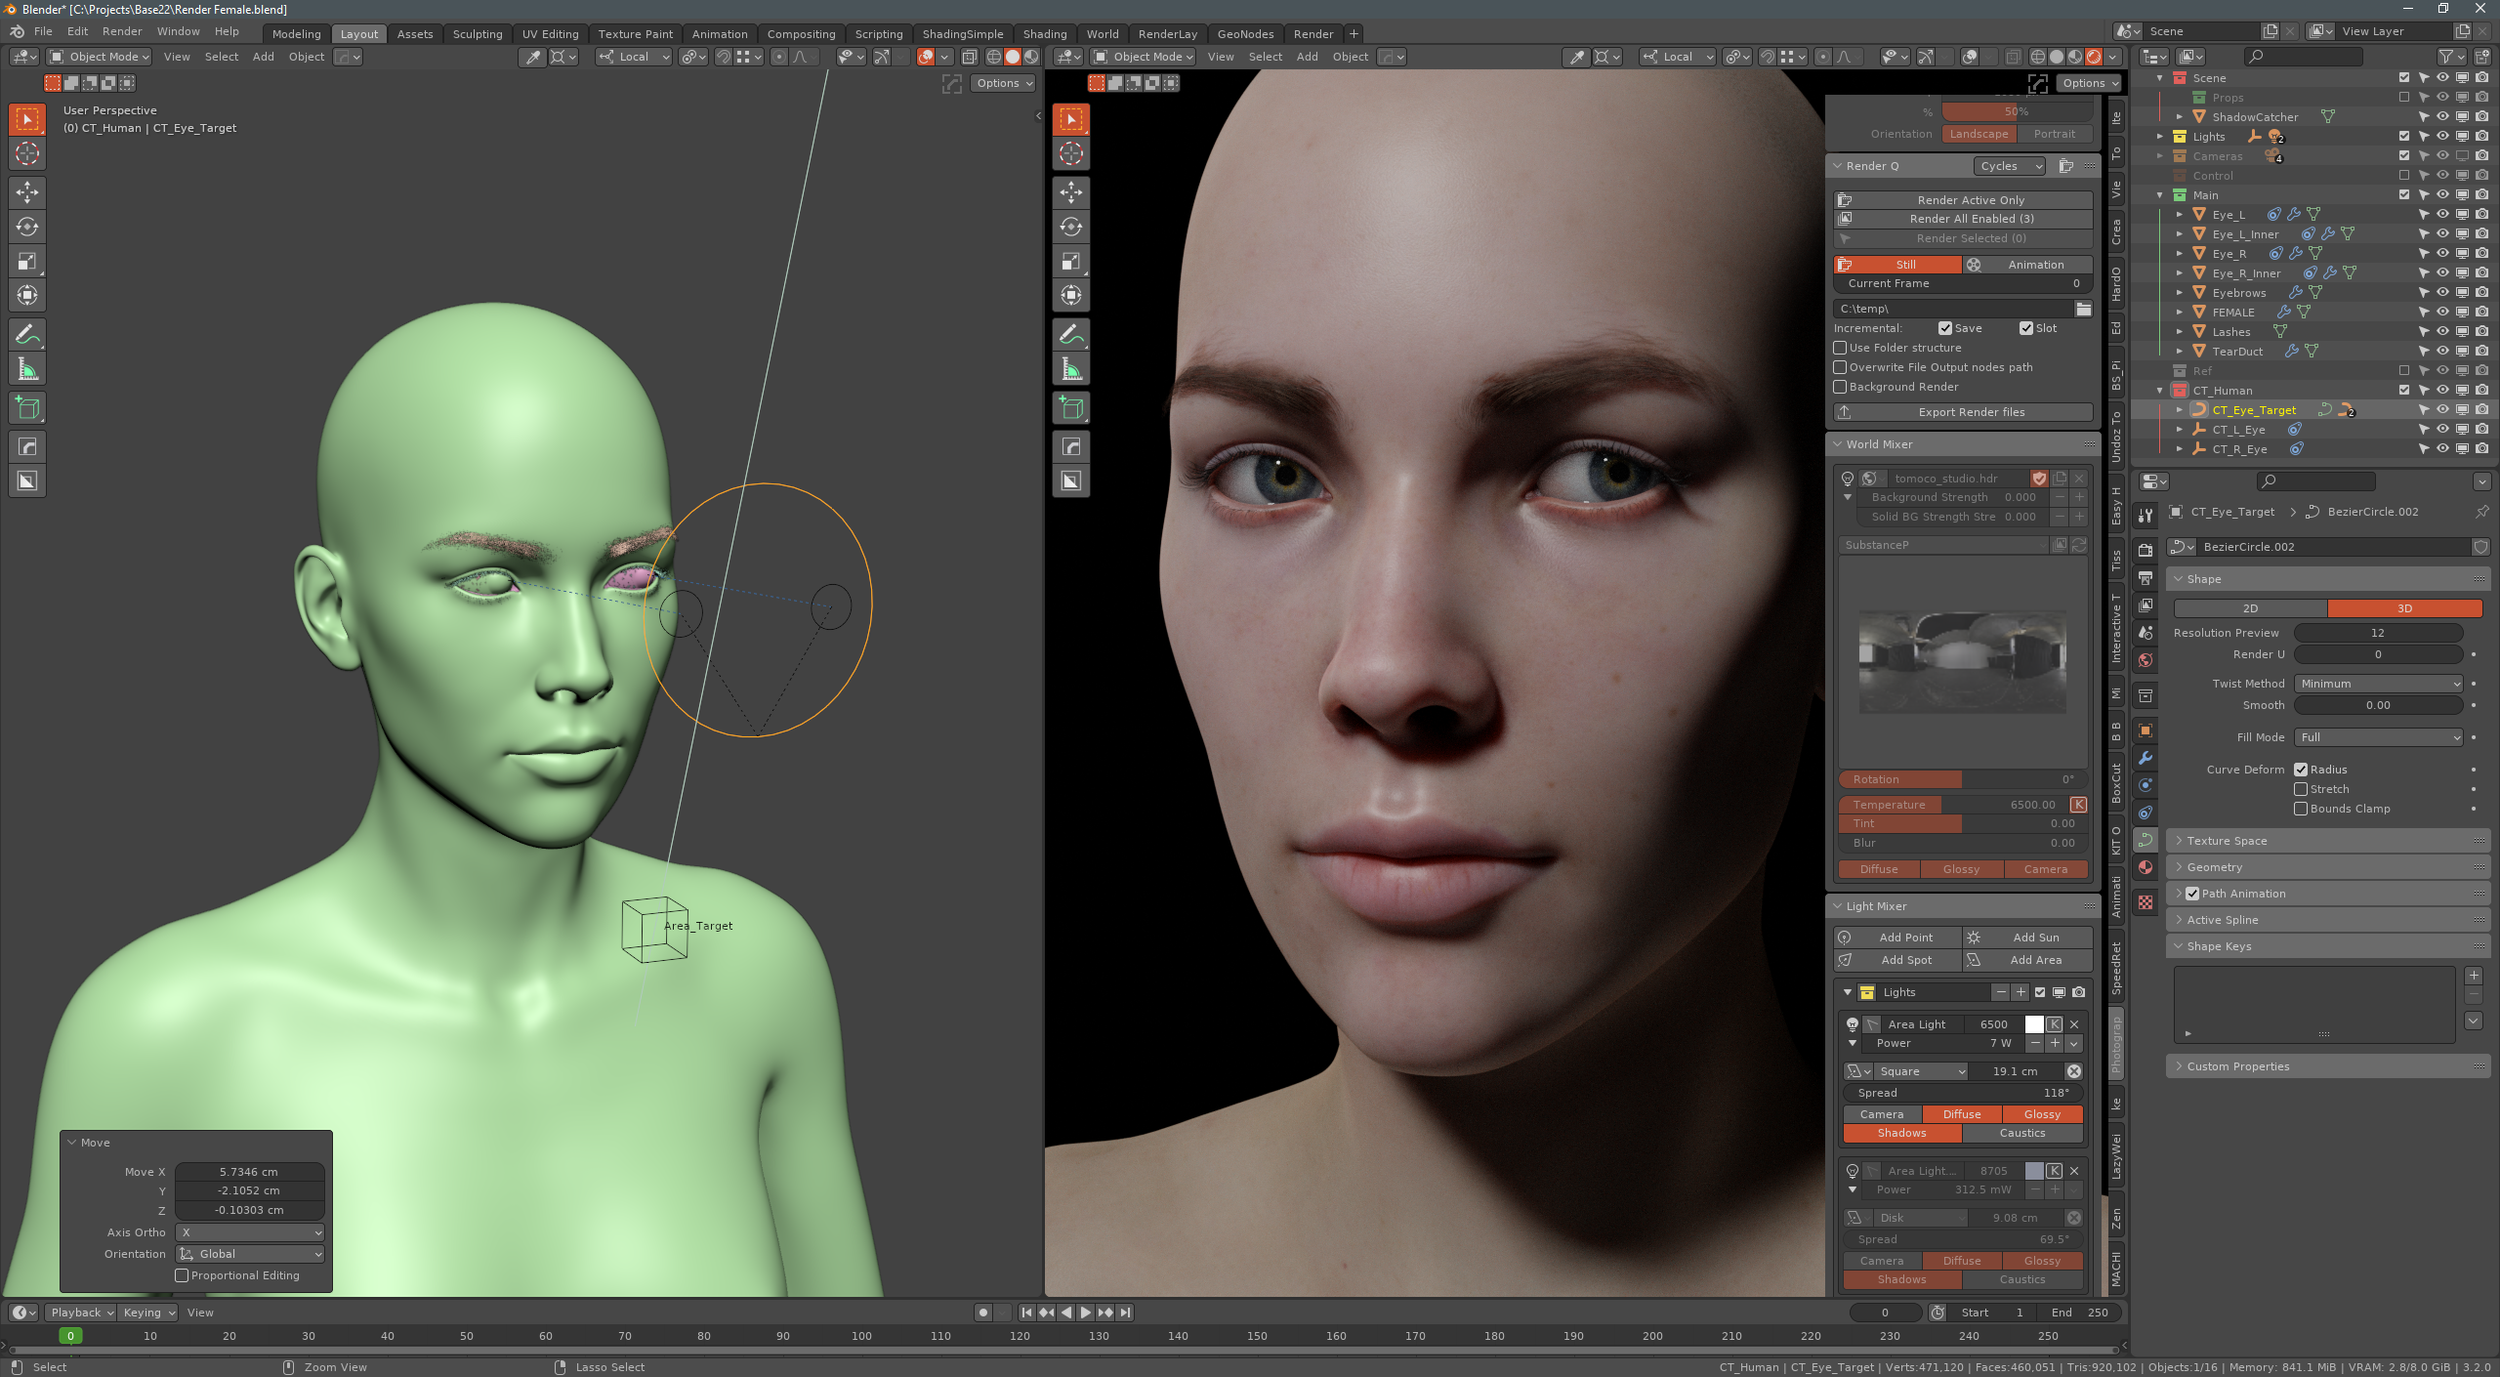
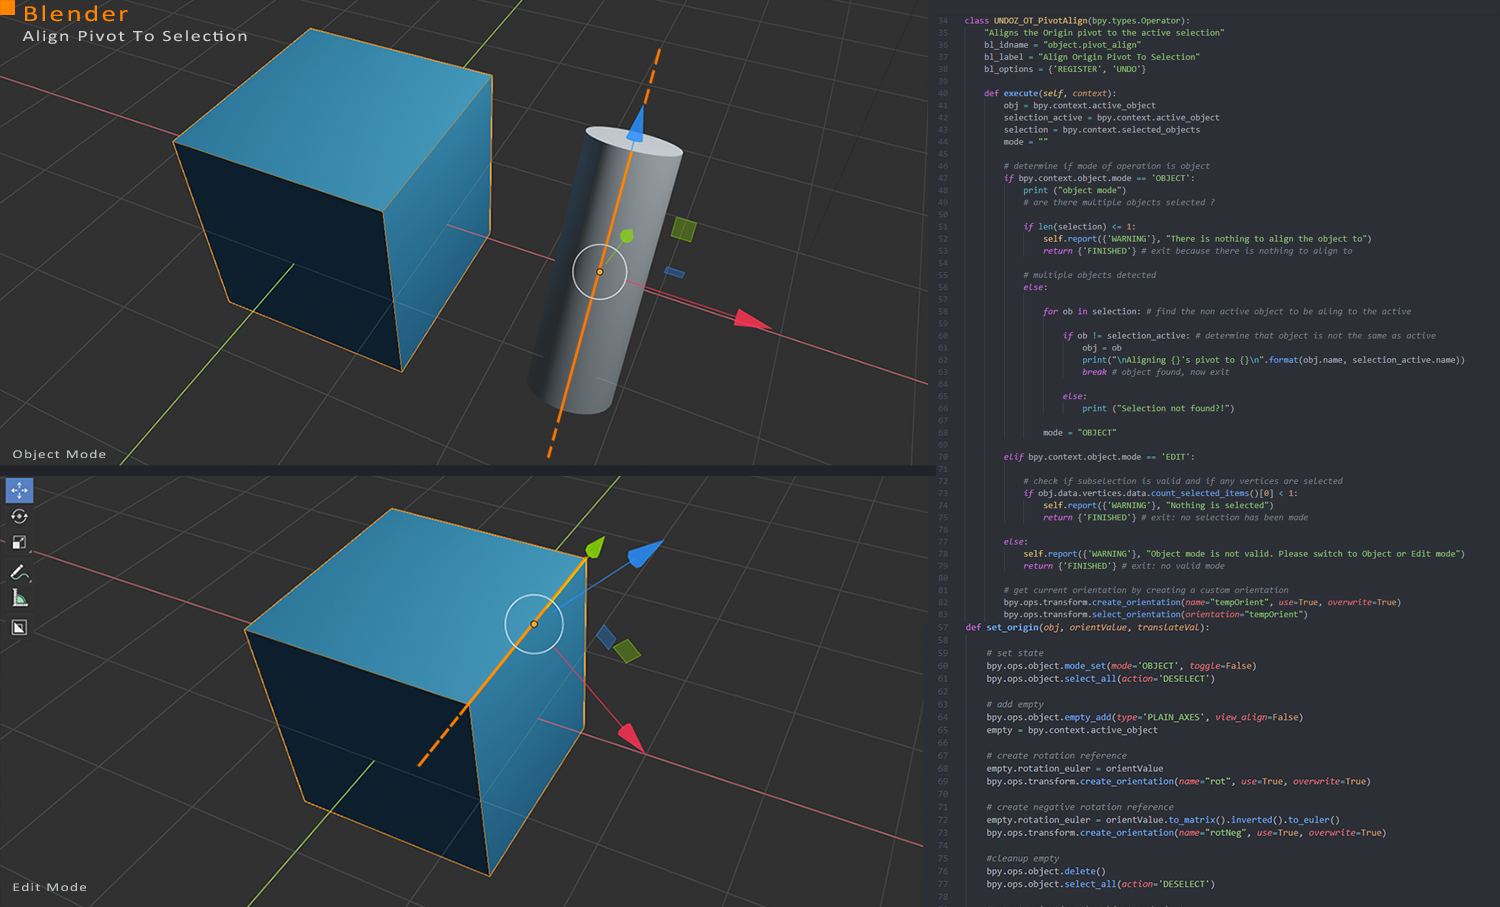
Blender - Align Pivot To Selection
During the process of porting my tools to the new version of Blender 2.8 I couldn’t find a tool that would easily allow me to align the origin pivot rotation to a sub-object, or object selection, and I decided to write and share the tool below.

Download:
undoz_tools_blender_2.9_v1.02.zip - September 02 2020
Note: Blender 2.9 + required
Installation:
Unzip the archive to %appdata%\Blender Foundation\Blender\2.90\scripts\addons (Undoz_Tools folder should be present in addons)
Start Blender, open Edit > Preferences, search for Undoz Tools in the Add-ons section and enable the script
Usage:
You can find the action in the right click Context Menu as: “Align Origin To Selection”
Edit mode: Make a selection ( Good on edges )
Object mode: Select two objects (The Active/Last selected is the source for the pivot/origin orientation)
The command is also present in the F3 search menu as Align Origin Pivot To Selection (Developer Extras needs to be enabled in Preferences > Interface > Display)
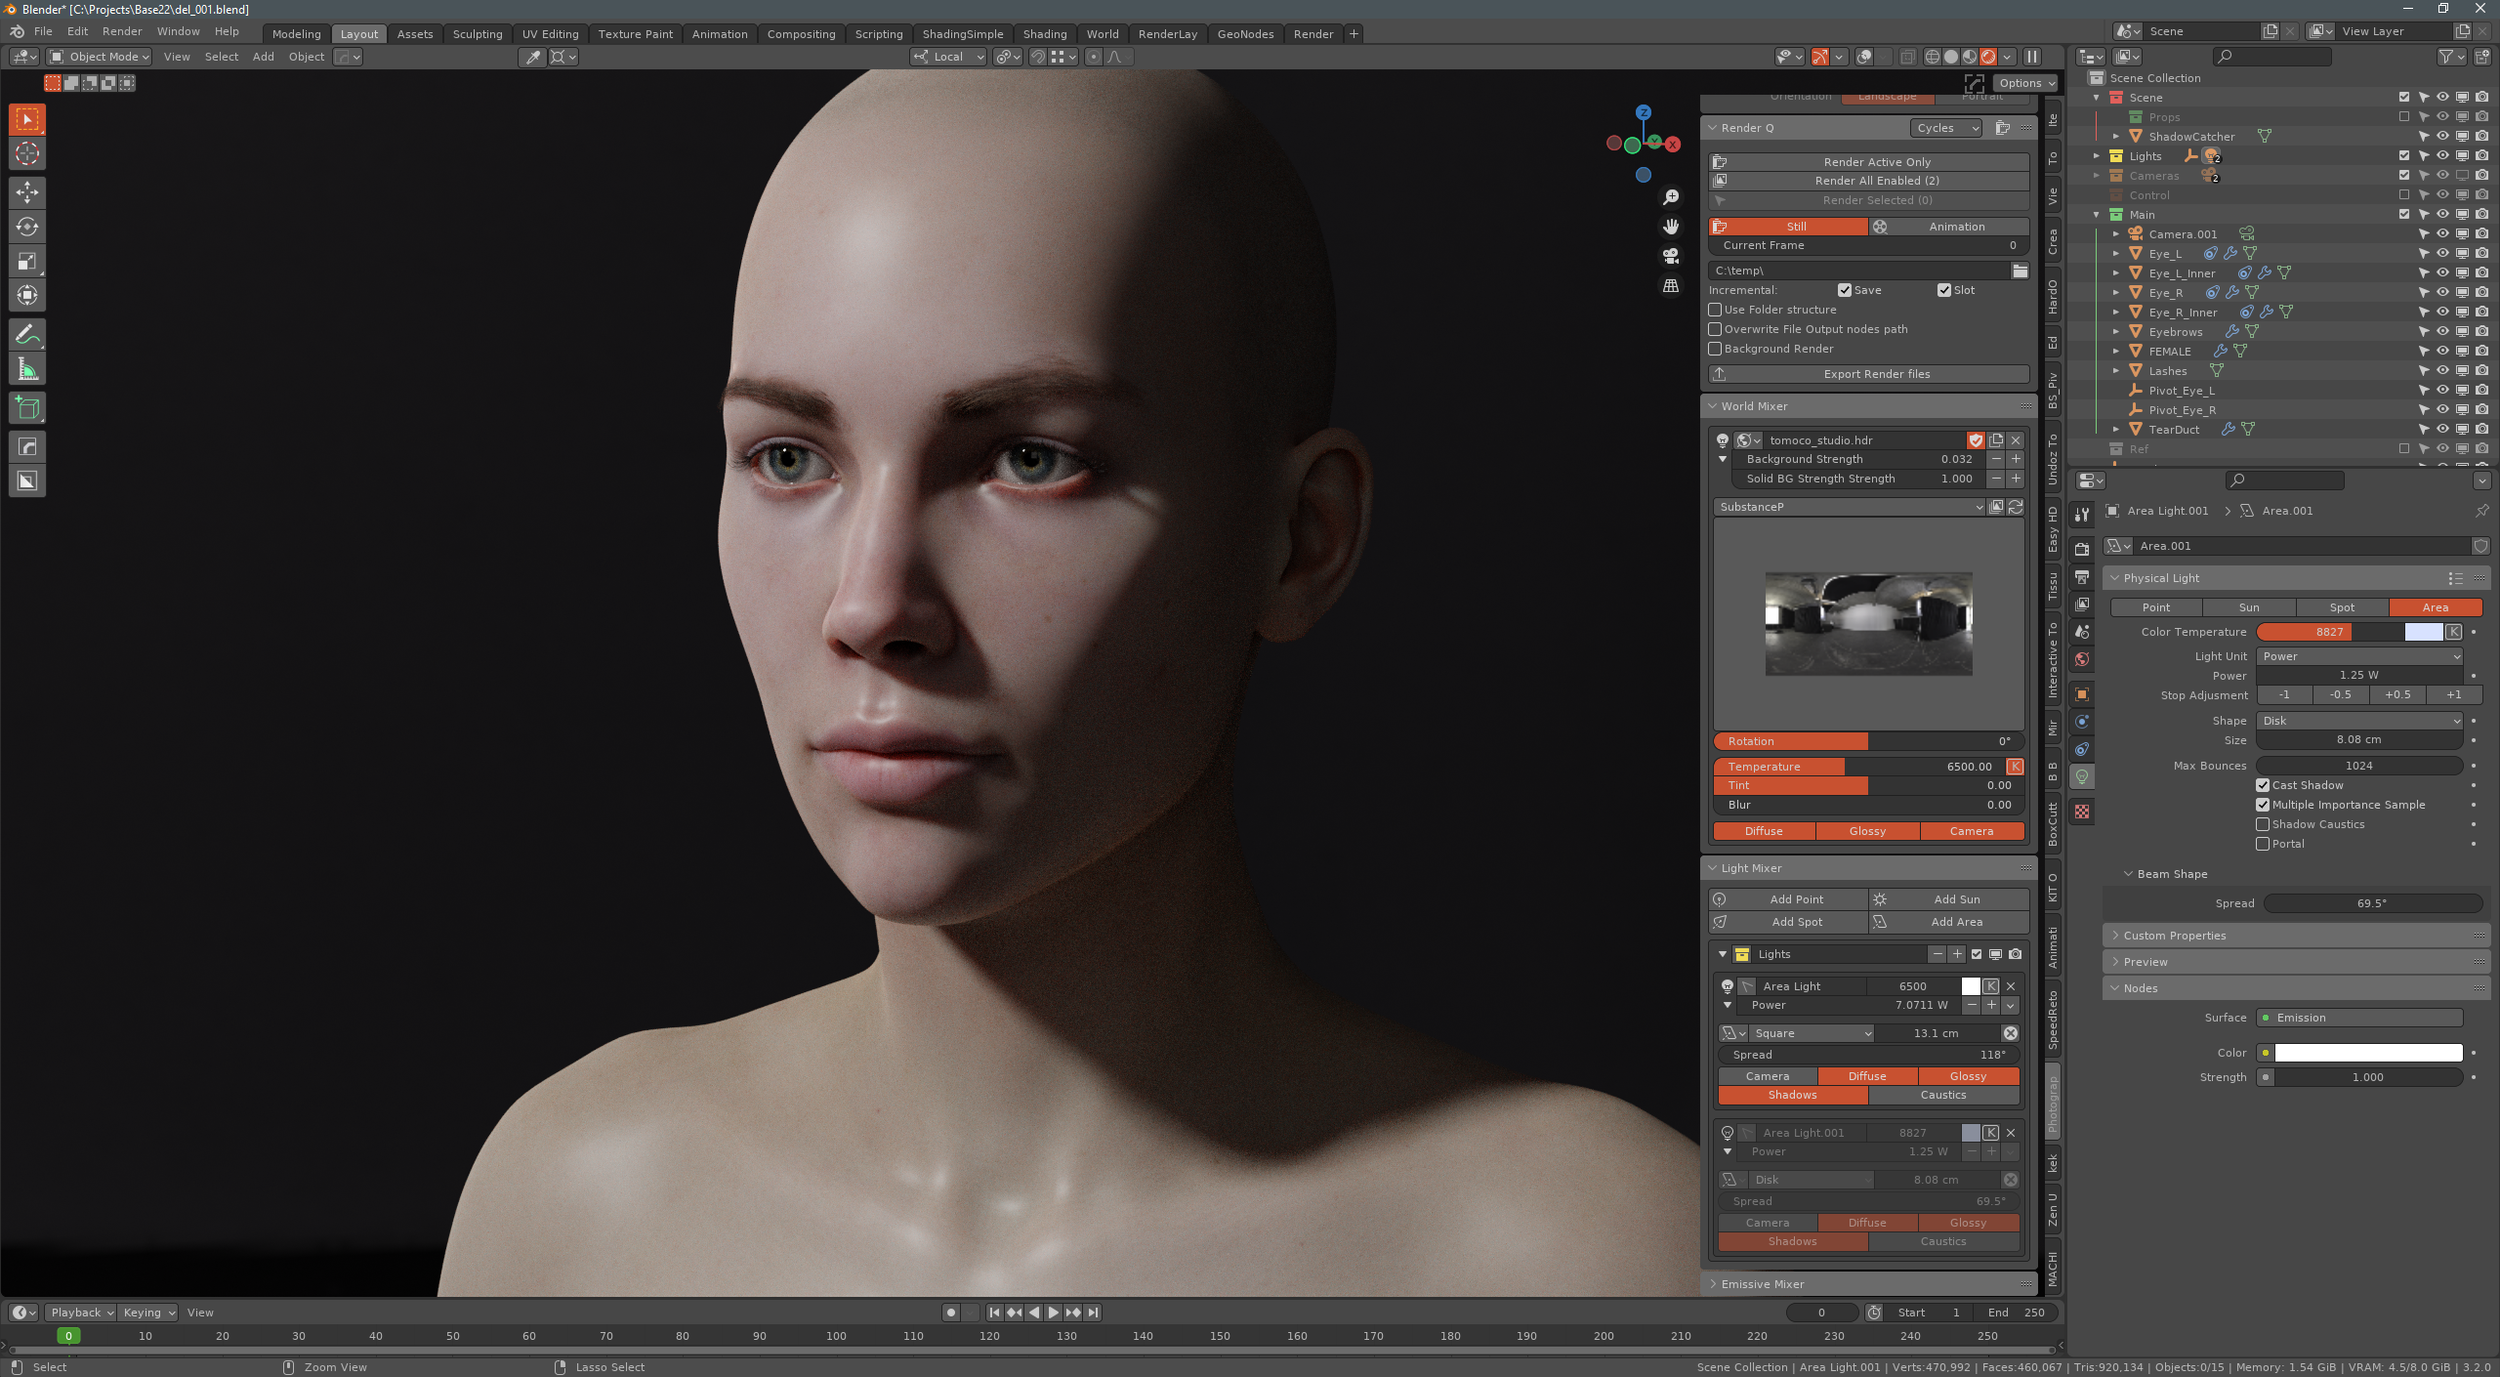
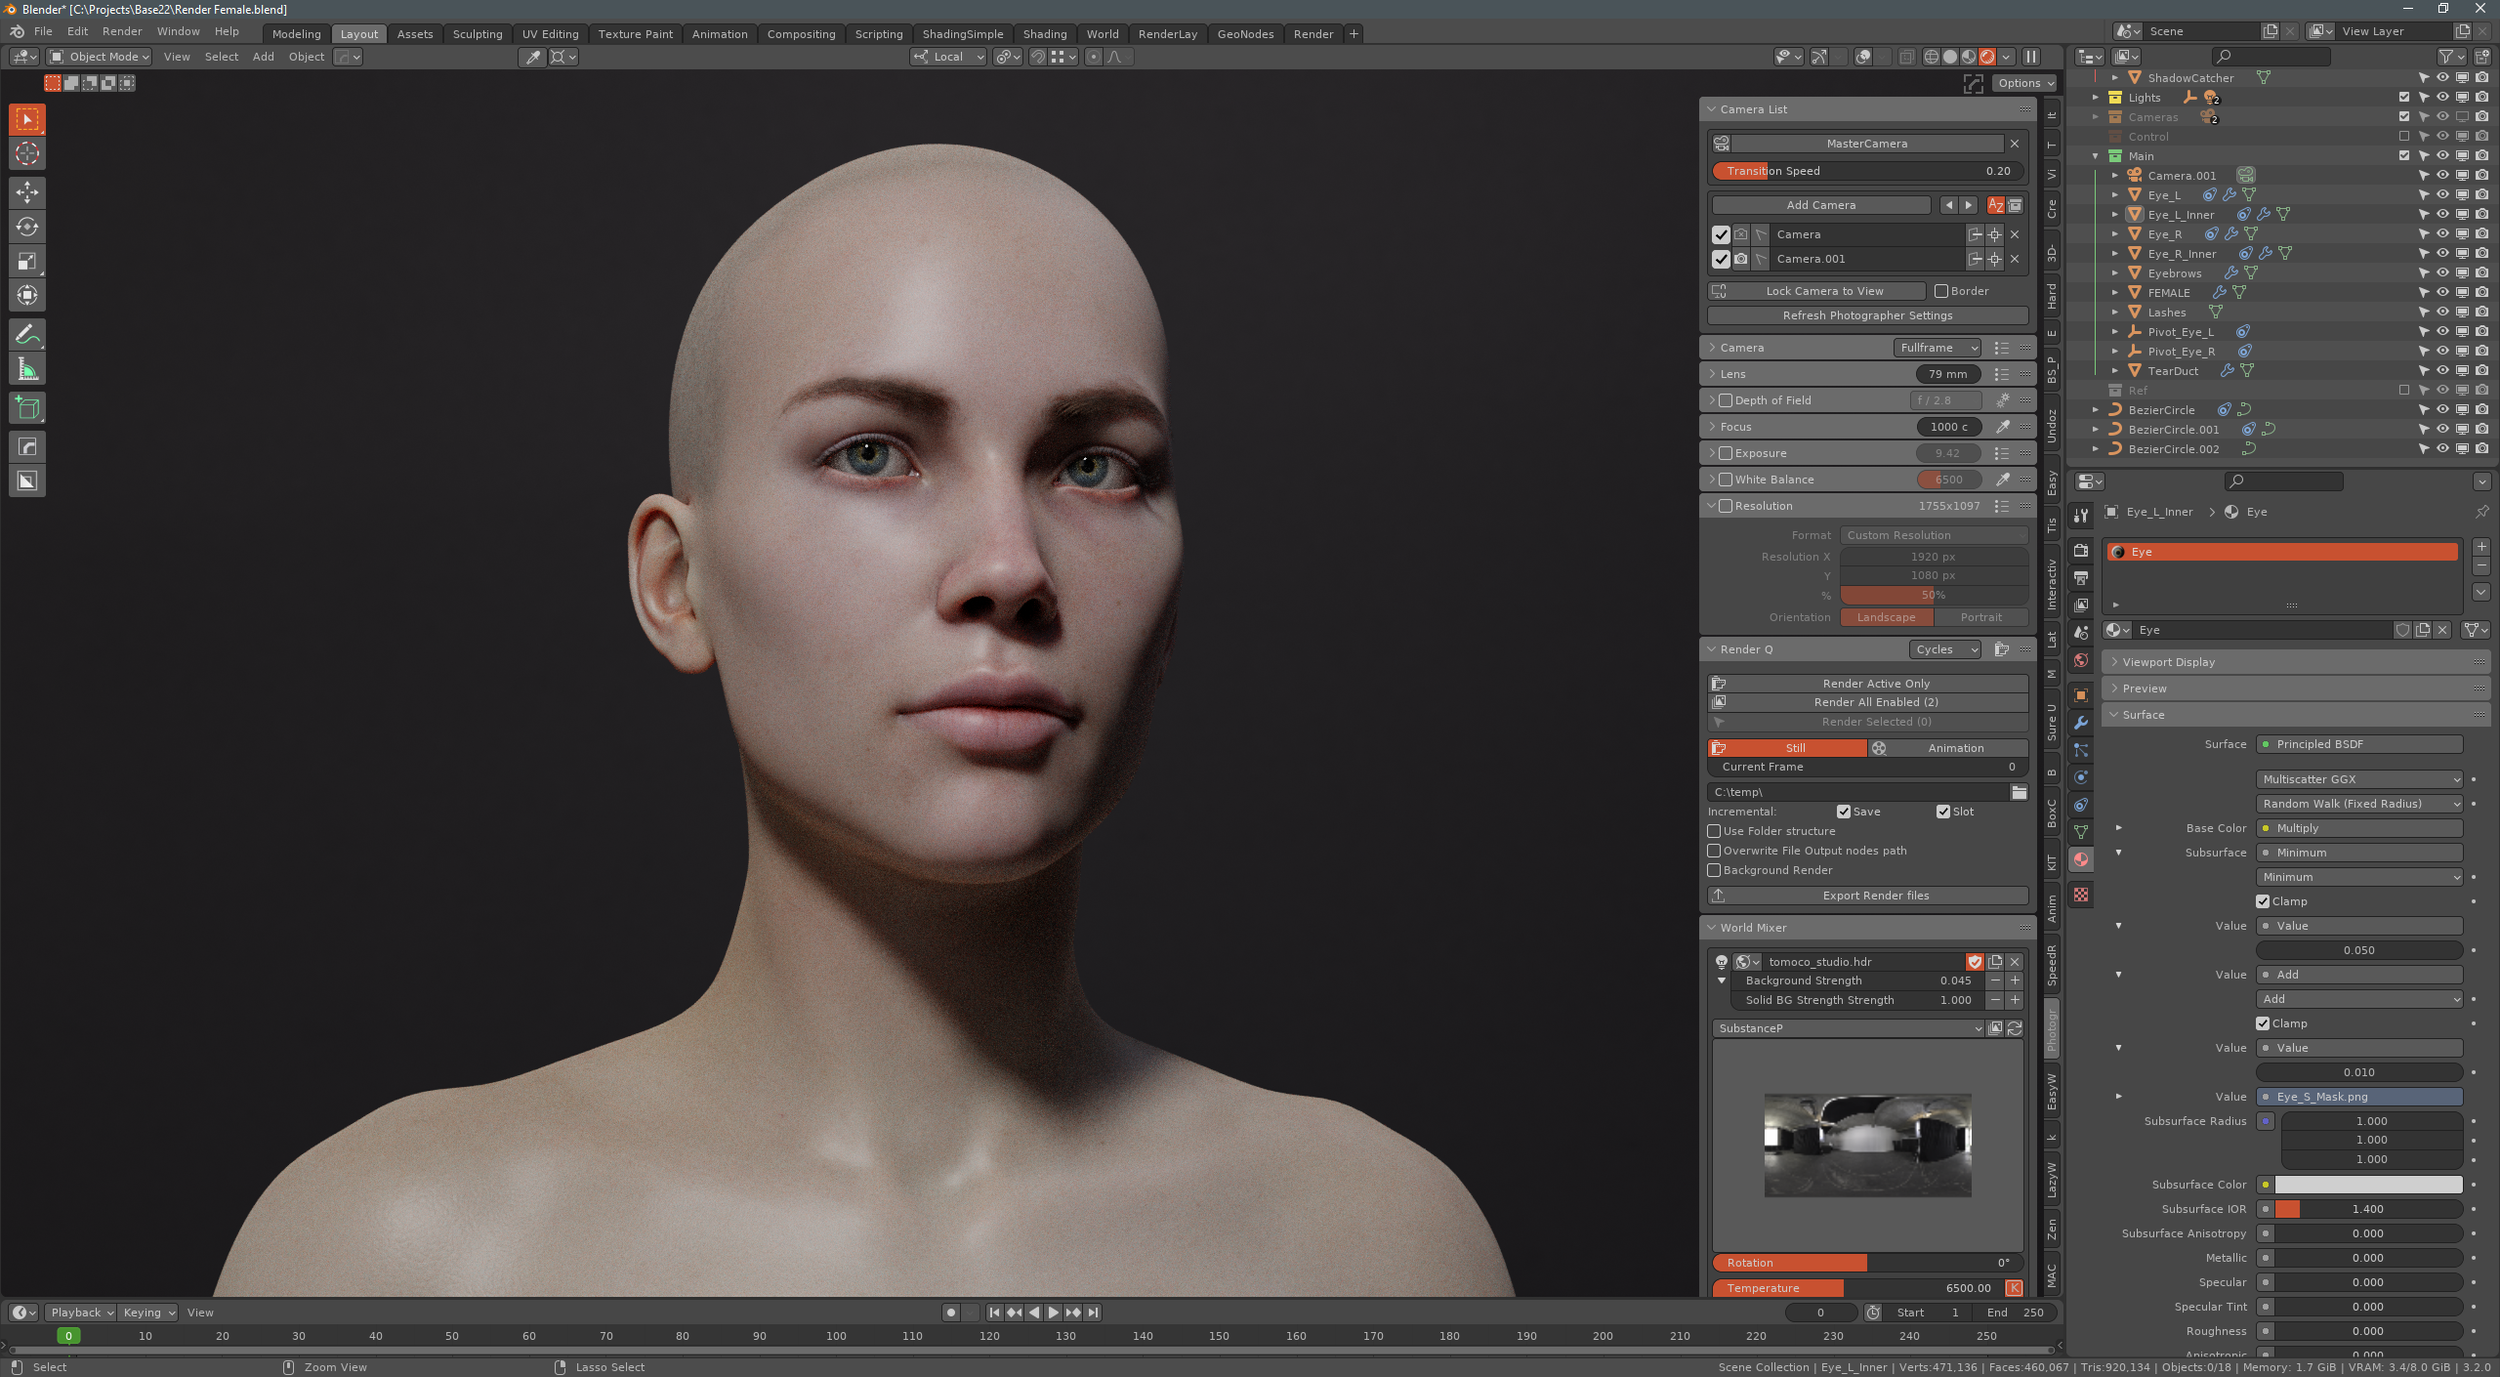
Cycles - SSS Skin Shader
For the last few days I’ve been testing Cycles, which is a fairly a new unbiased CPU/GPU path tracer renderer for Blender, available alongside Blender’s internal engine. When combining its speed with the flexibility of Blender’s Shading node editor, it becomes a serious contender to Vray, Arnold, Keyshot, Octane or Corona, plus it’s Open Source and free.
While Cycles comes with basic shaders like Diffuse BSDF, Subsurface BSSRDF, Glossy BSDF (including the GGX Shading Model), etc, to create realistic materials you have to combine these together into more a complex Shading Group. Once created, this Shading Group can be easily reused and shared between scenes, and can be controlled with a set a variables that you decide to expose to the end user.
In this example I am mixing together two Subsurface shaders, a Diffuse shader, and a GGX Gloss shader. To get a red scattering lobe, I am overlaying the color inputs of the SSS shaders with two complimentary colors, slightly weighted towards red, and I am using two different scattering radiuses to simulate two skin layers. For the specular component I am remapping the fresnel node to allow individual control over the F0 and F1 parameters.
I would like to thank Ten24 for providing this model.
Downloads:
Update (8-8-2016)
Skin Shader: Blender_SSS_Skin_Shader_Undoz.com.blend- I’ve added a simple scele with just the skin shader so you can use it with your own models.
Blender: http://www.blender.org/download/
Skin Shader and Model: 3dscanstore.com was very generous to give away a Blender Render Scene complete with a free Head Scan and the Skin shader above. You can find it here: http://www.3dscanstore.com/index.php?route=information/information&information_id=16
Vertex - Pattern Drafting in Marvelous Designer and Zbrush
If you are interested in pattern drafting for custom designs, then you can find an article I wrote in the latest edition of Vertex from Art By Papercut.
Vertex 3 is one of the best CG publications and it’s packed with learning content from professionals in the games industry.
You can download it for free at: https://gumroad.com/ryanhawkins
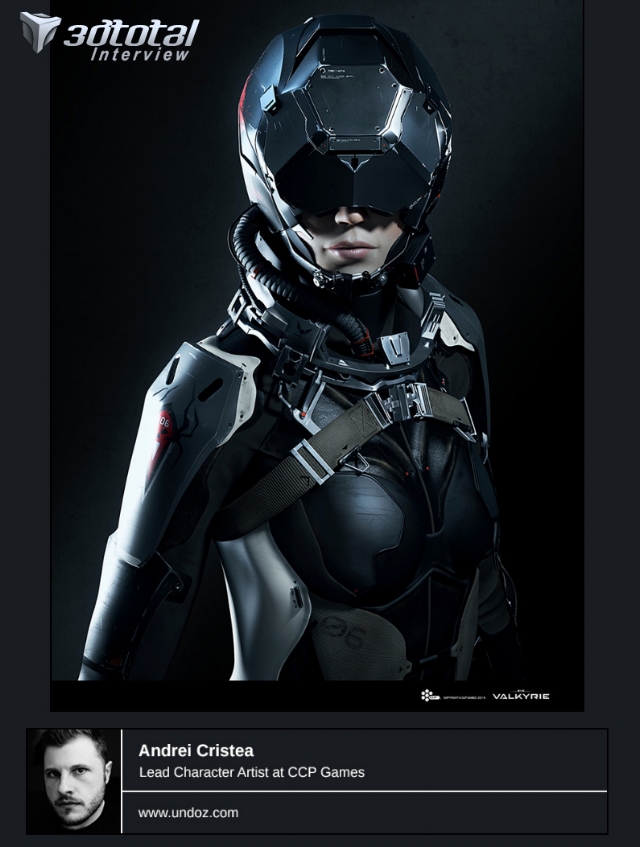
3dtotal Interview
3DTotal republished the interview I did for 3DCreative Magazine. You can check it out HERE .
3DCreative - Interview
The latest issue of 3DCreative magazine has a nice feature of my portfolio along with an interview.
http://www.3dcreativemag.com/issues_2015/april/main.htm

3D Artist - Industry Insider
I had the honor of being interviewed by the 3D Artist Magazine for the Industry Insider section.
You can read about it in the 37’th Issue.
VRay - Physically Based Shader
I am currently working a Vray base shader for dielectrics and metals that has a similar response to the PBR implementations from Marmoset/Unreal/Substance. The purpose of this is to have a material that responds well in different lighting conditions, and that is driven by plausible parameters based on physical measurements. It currently supports both metallness/gloss and specular(F0)/gloss workflows, along with micro roughness control, and should make the texturing process a lot more easier and consistent between different projects.
Download: undoz_vray_PBR_simple_SHD.rar( Please note that this shader was created before Vray supported Maya’s color management system. That’s why the shader is setup with gamma correction nodes. You can either disable the color management, bypass the gamma nodes, or set the texture color space to raw. Edited: 8-8-2016 )
Usage: Import the shader through the Maya Hypershade window (File>Import).
The shader is made for LWF (gamma 2.2) and supports both mentalness and specular workflows. The fresnel component is remapped to allow full F0-F1 control, and the F1 component is sensitive to glosiness changes to account for the microfacet normal changes.
Saturated Carbon
Saturated Carbon
One year ago I decided to start a personal space on tumblr called Saturated Carbon while looking for new sources of inspiration, and trying to expose myself to something a bit different than the usual suspects like CGHub, CGSociety, Artstation, that probably most of us visit daily. Over the time this proved to be a very useful exercise and it is something that I regularly reefer to when I am in need inspiration, and which I try update whenever I stumble upon something appealing, be it fashion, industrial design, photography, movies or sketches.
Hard/Soft Edges to Edge Creasing - Maya MEL
One of the modeling workflows that I frequently apply in 3ds Max is to use Smoothing Groups to act as a poor man’s creasing. That is done by stacking two Turbosmooth modifiers on top of eachother, with the first one having Separate By Smoothing Groups on and using the Iterations to control the crease amount.
With the introduction of Pixar’s OpenSubdivs in Maya 2015, edge creasing becomes very appealing and in a lot of cases it can be a huge time saver. One of the major drawbacks I found was that the crease values are easily destroyed when using basic modeling tools, and rebuilding them is a pain in the ass.
With the script below I am replicating the same workflow by using Hard/Soft edges to store and control the creasing of the model. It basically adds a predefined creasing value to Hard edges and removes the creasing from Soft edges.
I run this after I define the initial Hard/Soft edges, usually with Set Normal Angle, and whenever the edge creasing gets mangled by various modeling tools. The authoring is done only by using Harden/Soften Edge, or by using the commands from the Shelf attached at the bottom.
global proc createCrease() { float $creaseValue = 3; ConvertSelectionToEdges; SelectEdgeMask; string $selEdges[] = `ls -sl -fl`; string $hardEdges[]; polyCrease -value 0; select -cl; int $i = 0; for ($edge in $selEdges) { string $edgeType[] = `polyInfo -ev $edge`; if (`gmatch $edgeType[0] "*Hard*"`) { $hardEdges[$i] = $edge; $i++; } } select $hardEdges; polyCrease -value $creaseValue; select -cl ; } createCrease();
Notes:
I recommend staying away from defining custom crease sets until you are done changing the topology of the model, and only worry about Hard and Soft edges. Maya’s tools are very destructive when it comes to maintaining crease values, and you will end up manually reassigning custom creases after each topology change. The default creasing value in the script is 3, so you can use safely use the H3 and Soft presets while modeling, in case you have to rebuild the creasing with the H/S script later on. These presets mark the edges as Hard/Soft at the same time
Please feel free to modify the scripts to your own liking!
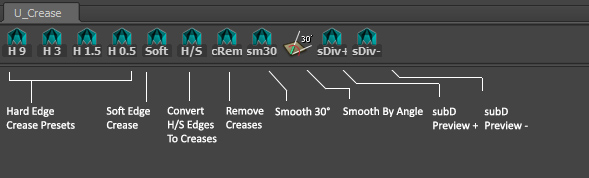
Download: shelf_U_Crease.mel
To install, copy it to : Documents\maya\2015-x64\prefs\shelves
Zbrush Hard Surface Retopology
I received a few questions regarding my hard surface modeling workflows in ZBrush and I decided to record a short video showing my workflow of resurfacing a block-out / concept sculpt.
JX - Sketch
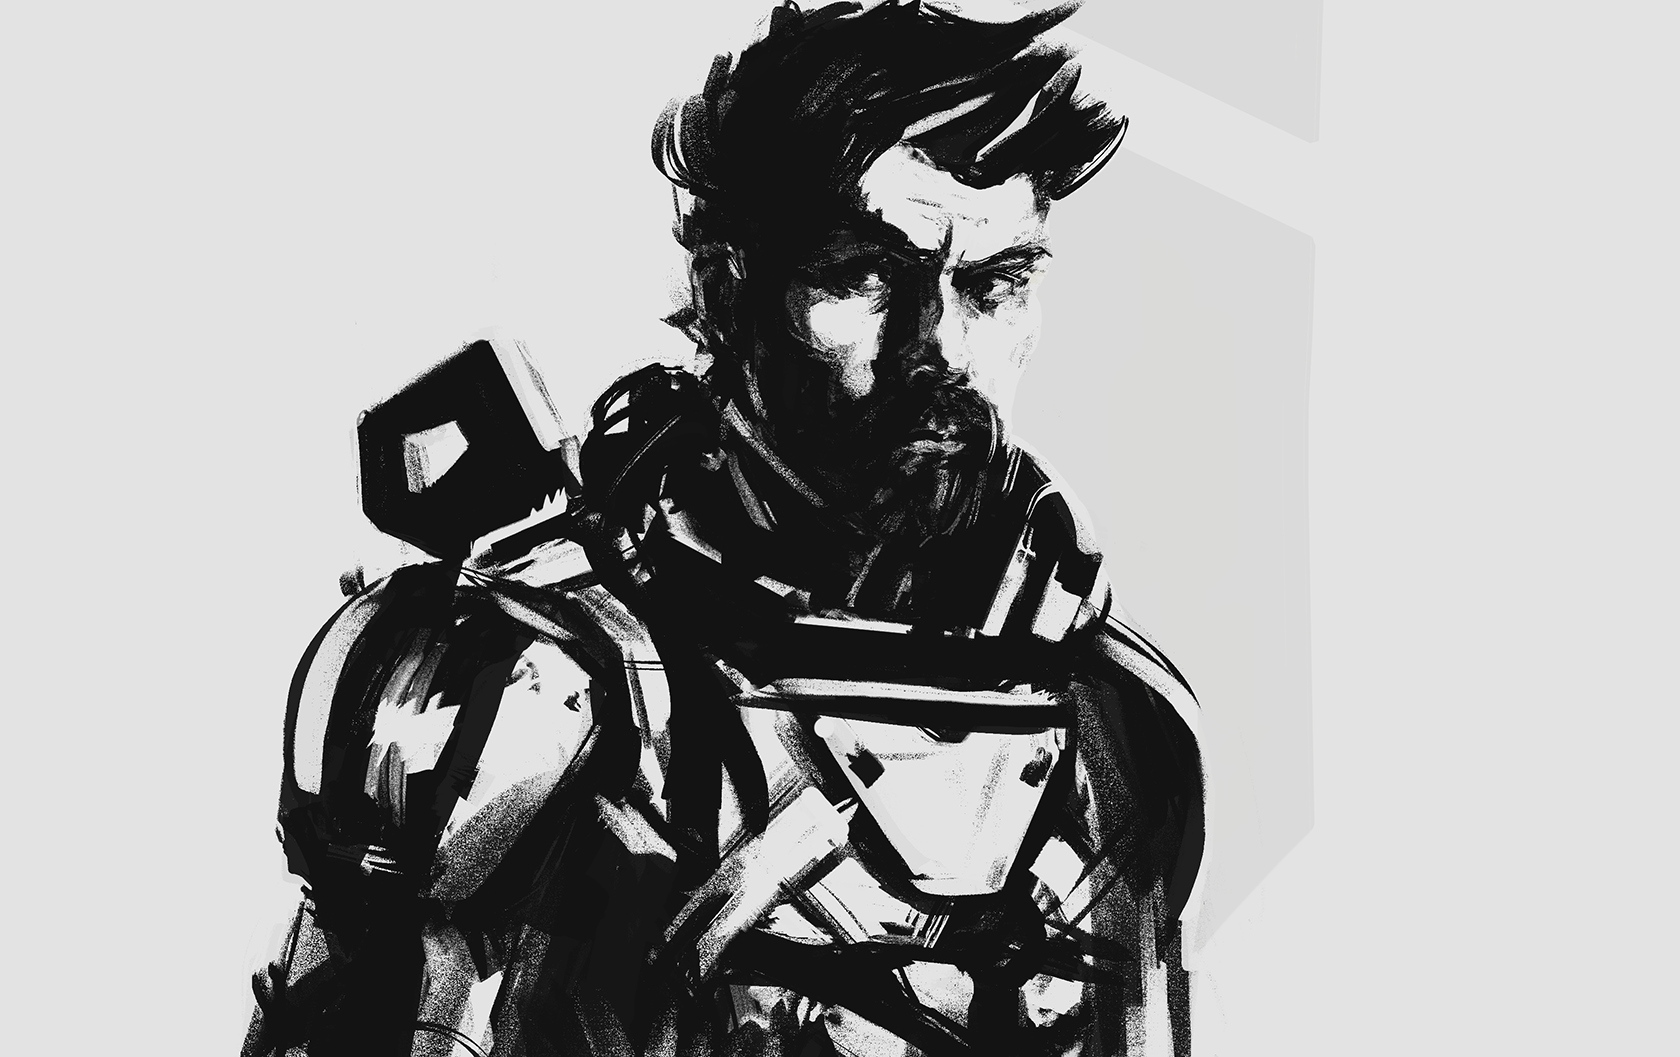
Suit - Sketch
Dynamesh sketch done last year
Orange Drift
Sketch
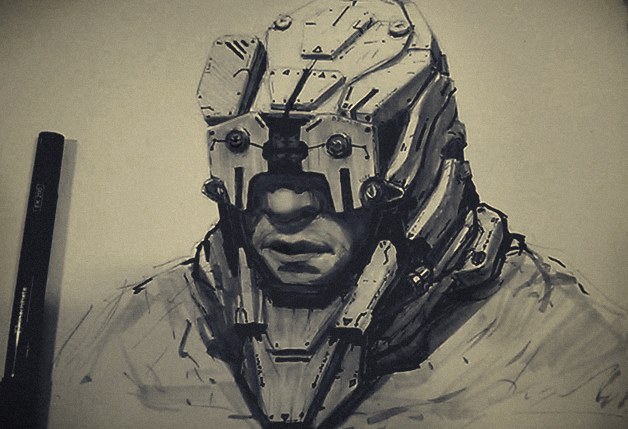

Marker sketch inspired by Fausto de Martini
Dusk - Sketch
Zbrush Practical Material Set
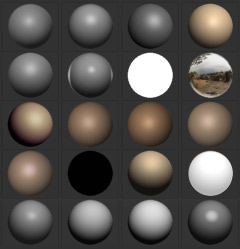
Here is the second edition of my Zbrush Practical Material Set that I’ve created a few years ago. I thought of sharing it here since the original post is buried deep on the ZBrush Central forums.
Today I mostly use the real time shaders from the set since they respond to light direction changes and they are a bit more versatile.
Copy the files into the ZStartup\Materials Directory and restart ZBrush
Download: Undoz_ZbrushParticalMatSet.rar
Base Meshes And Primitives
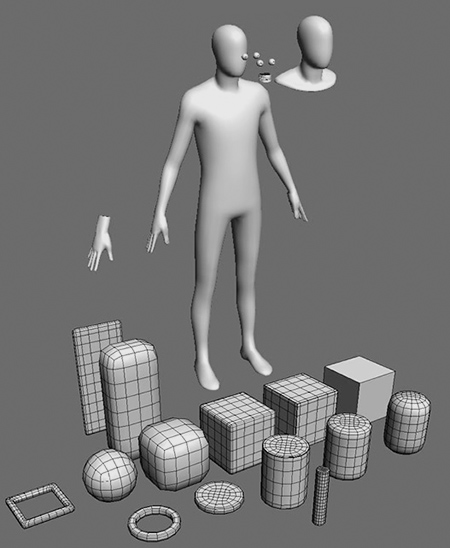
This is a set of base meshes and primitives that I have been using for the last couple of years as a start for my concept sculpts in ZBrush
The models are in OBJ format so feel free to use them your program of choice.
Enjoy!
Download: Undoz_BaseMeshSet.rar
Retopology in 3ds max
This is an older video about the retopology workflow I am using in 3ds max with the Graphite Modeling Tools (Polyboost).